How To Replace Garage Door Springs?
A garage is an integral part of every home. It is an area where you park your vehicles and store extra furniture and home goods you don’t need in your daily routine. That’s why repairing garage doors is a necessary thing to do. When you see or hear a spring break or feel that your garage door refuses t lift by hand or even with the opener, it shows that time has come for garage door spring replacement. If you love to do hard work by yourself and have an experienced DIY enthusiast, you can replace the door spring of the garage on your own. But make sure to be extra careful when carrying out this procedure. This article has mentioned complete tips and tricks you can follow to replace your garage door spring with correct safety measures that can save you from any hassle.
1. Gather Required Tools
To replace the garage door spring, you will need essential tools to complete this procedure. These tools include:
- Wrench
- Step ladder
- Safety glasses
- Locking pliers
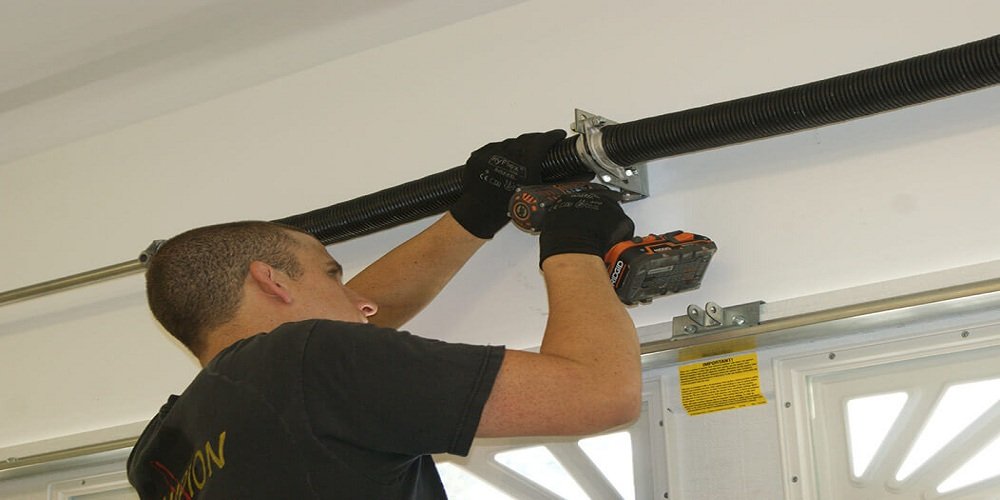
- Mechanics gloves
- Garage door lubricant
- Winding bars
2. Safety Consideration for Replacing Garage Door Springs
According to the statics, garage doors are dangerous as thousands of people are injured every year due to these doors. The most common cause of accidents is when door spring breaks and you try to replace it with any proper knowledge and experience. It is essential to follow safety precautions to keep yourself away from any injury. Following we have mentioned some of the safety precautions you must follow while changing garage door springs:
- Always wear your protective gear, including leather gloves and safety glasses.
- Make sure the ladder is steady and keep someone close to assist you in making your work easier.
- Take special care while using winding bars.
- Always make sure to get the correct tools to avoid any emergency department.
3. Measure the Soring for Your Garage Door
You can find a variety of springs in different sizes, diameters, and lengths. It is crucial to get the correct size to prevent any accident for you and your home.
4. Step by Step Guide to Replace Your Garage Door Springs
Now, it’s time to start and change your broken garage door spring. For easy access to the spring, the garage door should be closed. Make sure to unplug the garage door opener. To keep the door in place, use a C-clamp to the track at the lowest part on the roller on either side of the door.
· Unwind The Existing Springs
It’s time to remove the existing sprigs that are not broken. It’s important to remember never to touch the set screw without properly inserting the right bar into the winding cone. Gat a tape and wrap it on both ends of the winding bars. Now, it’s time to unwind the spring until the cone is free from the shaft. Just like that, remove the other spring. It is still wound and is not broken.
· Replace Springs
When the existing springs are removed, it’s time to replace them with new garage door springs. Start with the left spring and move it into the place on the shaft just like you took it off. Change the cable drum as the garage door has mainly two springs. Slide the new garage spring door over the end of the shaft. Now slide the spring to the spring anchor bracket to allow flexibility in opener installation. Reinstall the cable drum and slide the shaft into the bearing. Follow the same steps on the other side to replace the spring. Ensure to inspect the bearing at the end of the procedure and use lubrication if needed to make your garage door spring move freely.
Conclusion
The replacement of garage door springs at the right time will save you from hazards and prolong the life of your door. So, make sure to keep an eye on your garage doors and avoid delaying the maintenance and replacement of old parts.